
Setting Up Your Account
In the initial email PCI will send, they will provide the merchant name and the last 6 digits of the merchant account. If they have not created an account before, they will need to log in to:
www.pciapply.com/paymentprocessing
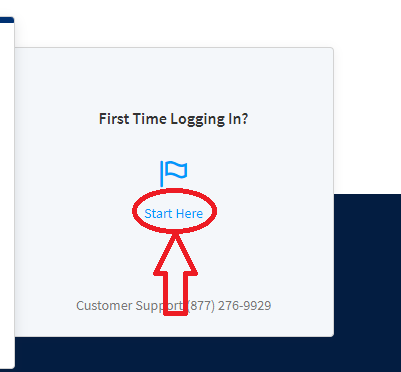
Once on this screen, they will want to select the first time logging in option.
After the initial password set up. Proceed with filling out the Questionnaire:
Following is a break down of how to respond to the different parts of the questionnaire.
Merchant Information
Part 2: Type of Merchant Business:
-Check “Retailer”
-Under “Select your processing environment” select “Stand-alone terminal utilizing router connection”
Part 3: Relationships
-Answer “no” to the first two questions
-On the third question, answer “yes”
You will be prompted to put in the QIR Company & Individual plus the services provided
Part 4: Processing Solution
-What solution do you use to process credit cards? –
- Terminal
-Answer “No” to the next 2 questions
-How and in what capacity does your business store, process and/or transmit cardholder data?
- Standalone terminal utilizing router connection
-Do you connect this solution through a cellular or a Dial-Up or an IP Connection?
- IP
-Solution Selection
- Vender: BBPOS International Limited Model: Chipper 3X BT
-Check
- “I have read and agreed to the terms & conditions”
-Click
- Save & Continue
At this point it should show you are eligible for the B-IP questionnaire
-Click
- “Submit”
Questionnaire B-IP
-Click
- “Start Questionnaire” (At the bottom of the page if you’re struggling to find it)
-Click
- “Start Selection”
- Select “Yes” for every question.
-Click
- Continue
-Repeat the above steps for the remaining sections until you reach section 11
-Section 11: Network Scan
It will ask you to Add a Scan Target. This is asking for the public IP address of Terminal 1. (The easiest way to find this is to google “What is my IP address” on Terminal 1?)
On the Target Management page, under Input, you will click next to the 1 and enter your IP Address. Then click Add at the bottom of the page. Then click Return to Network Summary.
On the Network Scan Summary, click Launch Scan. It will tell you it will take 1-2 business days to get back to you. It will e-mail you a notification when its ready to move on to the next steps
PCI Response
You will receive 1 of 2 e-mails.
- Action Required – Click the link on the e-mail and login. Below the boxes for “Questionnaire Status” and “ASV Compliance Status”, you will see the “Action Required” Section. Click “Continue” in that section. Scroll down to the “Scan Result by Status” box and under “Action”, you will click “Respond”. Read the questions it asks you. The answers should be “Yes”. Click “Submit”. This will take you back to the “Network Scan Summary” page where you should see a Green 1 over the word Pass. At this point you can click “Submit ASV Compliance” button.
- Pass – Click the link on the e-mail and login. Below the boxes for “Questionnaire Status” and “ASV Compliance Status”, you will see the “Action Required” Section. Click “Continue” in that section. This will take you back to the “Network Scan Summary” page where you should see a Green 1 over the word Pass. At this point you can click “Submit ASV Compliance” button.
Submit ASV Compliance
Check the box for “I do not have load balancers.” Then check “I attest to the scope”. Then click “Submit”
It will then take you back to the “Network Scan Summary” page. Under “ASV Compliance Status” you will see a message that says “Your ASV Compliance request has been submitted. Allow 1-2 business days for review.”
You should receive and e-mail with 1-2 business days that will let you know you passed your ASV Compliance Scan.
Review and Sign
Once you receive the email saying your ASV Compliance Scan is complete, click the link in the email and sign in. Below the boxes for “Questionnaire Status” and “ASV Compliance Status”, you will see the “Action Required” Section. Click “Continue” in that section. This will take you to the “Review & Sign” page.
Scroll down to “Part 2B Transaction Processing” box. At the bottom of the box there is a question. “Is your terminal enabled to accept EMV chip cards?” Click the “Edit” button and a box will pop up with the same question. Answer Yes.
Continue scrolling to “Part 3B PCI DSS Validation”. Under “Merchant Executive Officer Name”, you will sign your name (name of the person on the Merchant account). Under “Title” you will put the title of the “Merchant Executive Officer”. The last thing you will need is the Last 4 of the Tax ID or Social Security Number associated with the business. Once that is done and you’ve clicked “Submit”, you are PCI Compliant.